Design
There are several different types of yakitori grills out there. Forget all the non-charcoal ones and you get a limited set of commercial products and only a few DIY ones.
My design requirements:
- Charcoal
- Cooking surface for 2+ portions
- Small and storable (I only have a patio)
- Self contained. Everything needed (except the coal) should fit nicely together
- Aesthetic
- Simple
Here is my 3d model of the prototype:


Prototype
Mold Making
I made a quick mold out of wood and expanding foam. Little did I know, the expanding foam (my wife idea) was crucial to the prototype’s success. You’ll see why later.


Casting
I used cartable refractory cement mixed with fiber glass and cement dye for the mix. Getting the mix even and the right wetness was a little tricker than I expected. Then packing the cement was a lot harder because I didn’t assemble the mold int he right order. In fact, the process went a little sideways and I didn’t get a chance to take any photos.
Unmolding


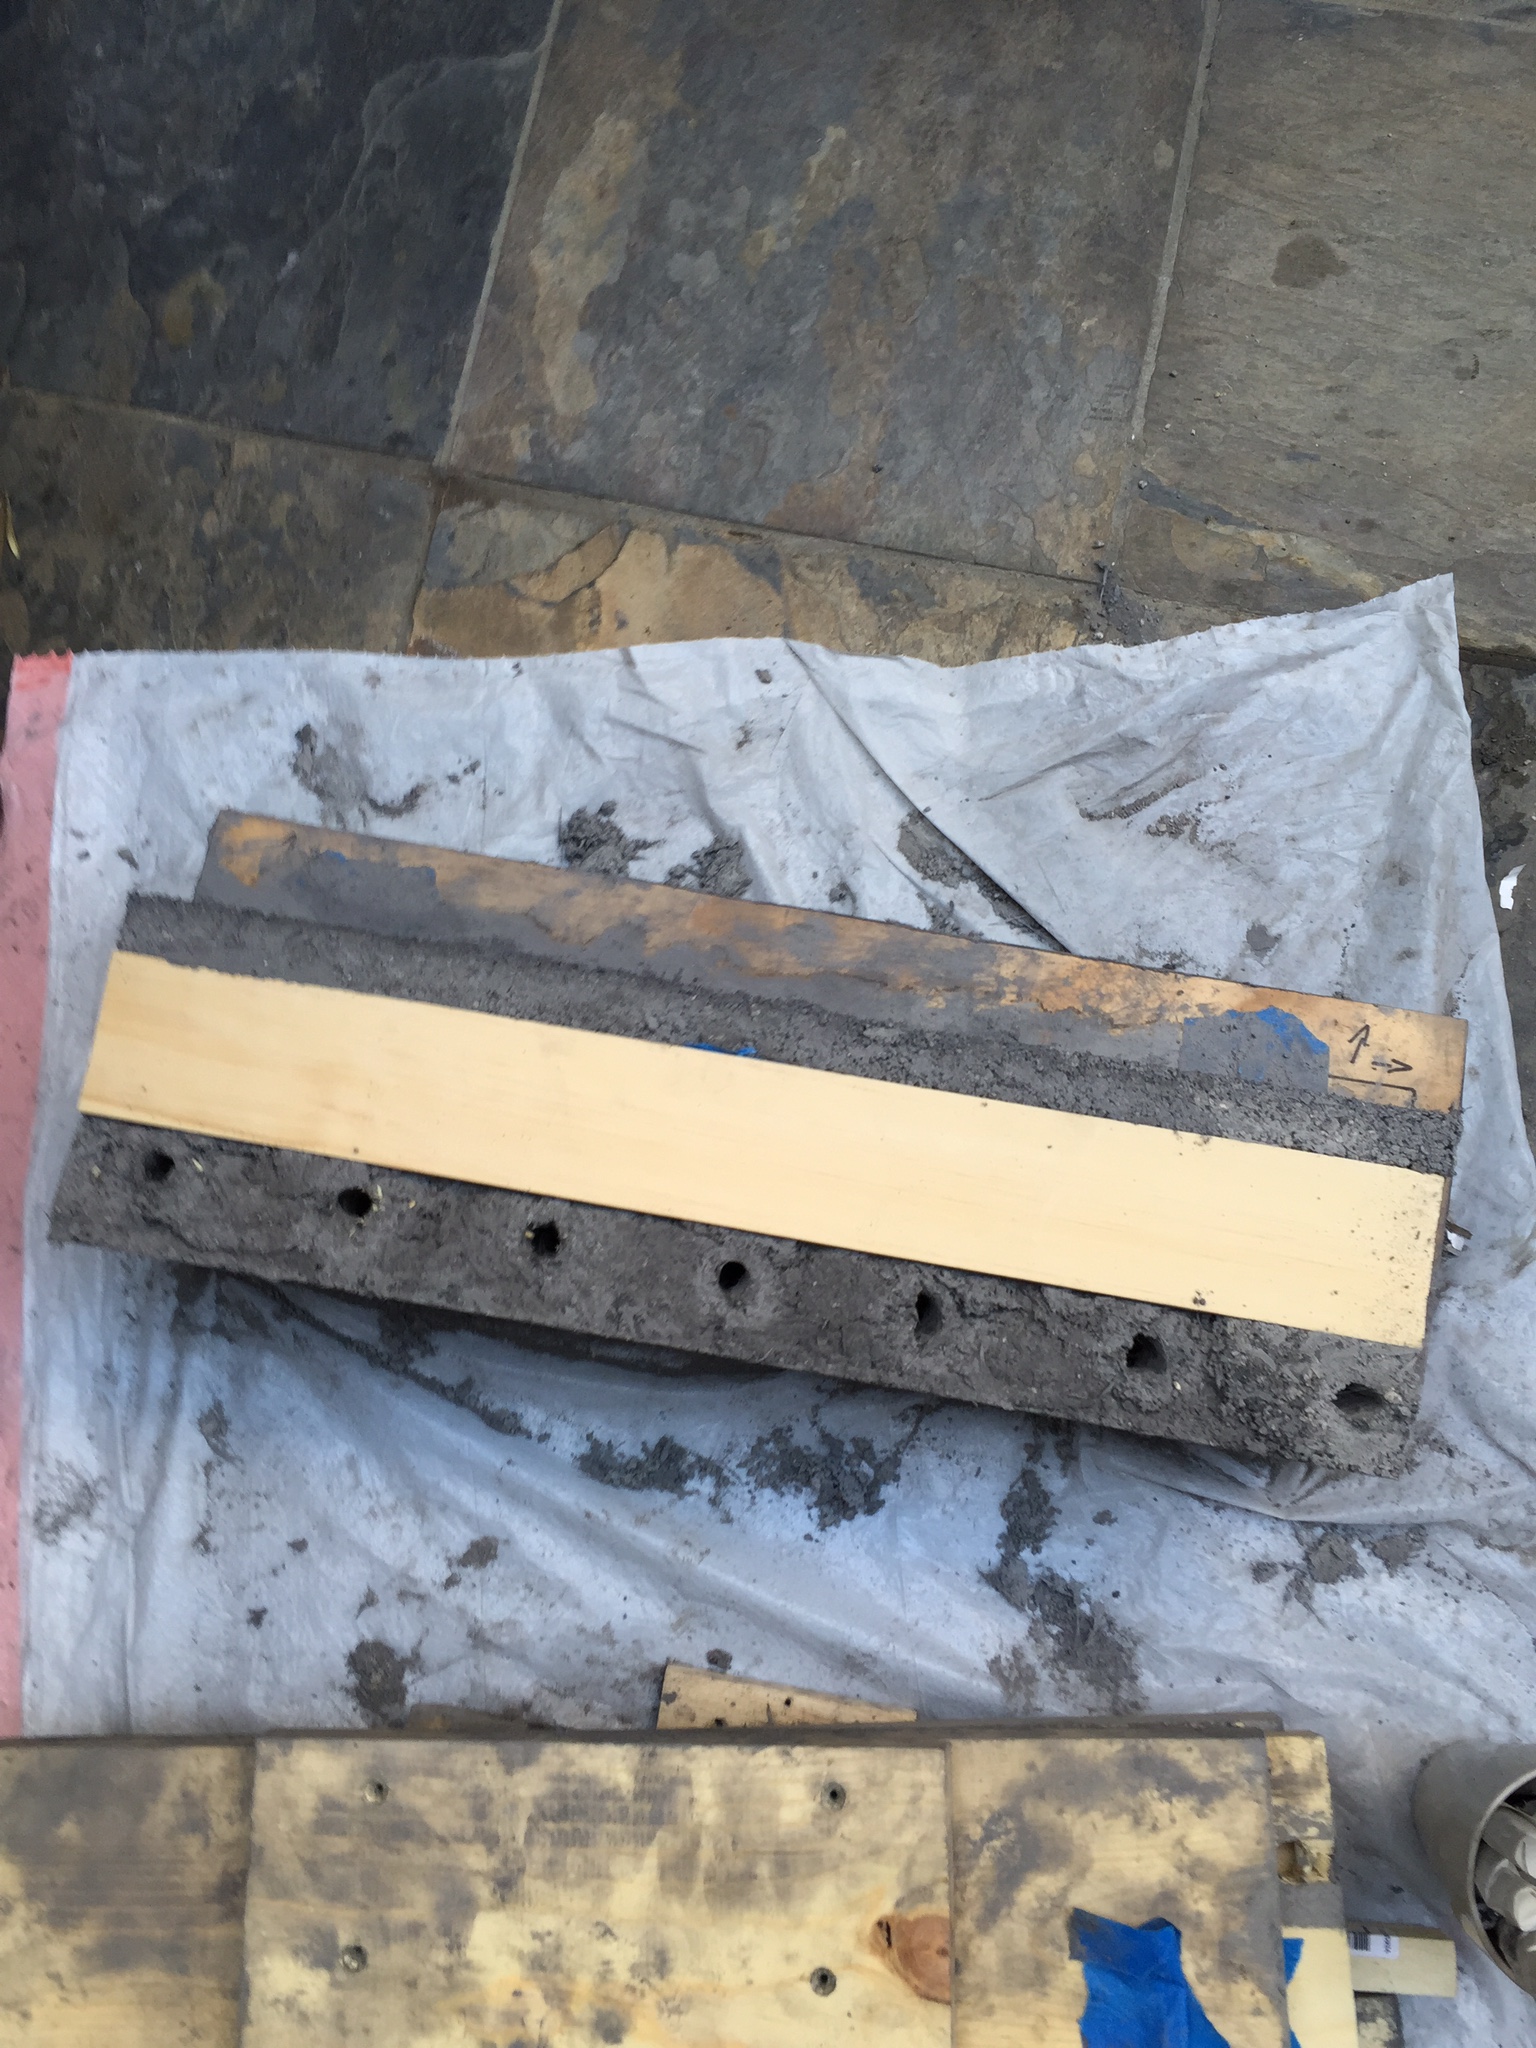

And this is why the expanding foam was so important! Without the ability to cut it all out and collapse the walls of the insert, I could have never gotten the grill out of the mold without splitting it.

Cured grill
3 days later, we have a fully cured grill!!!!


Testing
Time to cook. And just in time for my wife’s Birthday!
I don’t have a screen built for it yet, but my hope if that the grill when placed vertically will also double as a charcoal stack for lighting the coals.
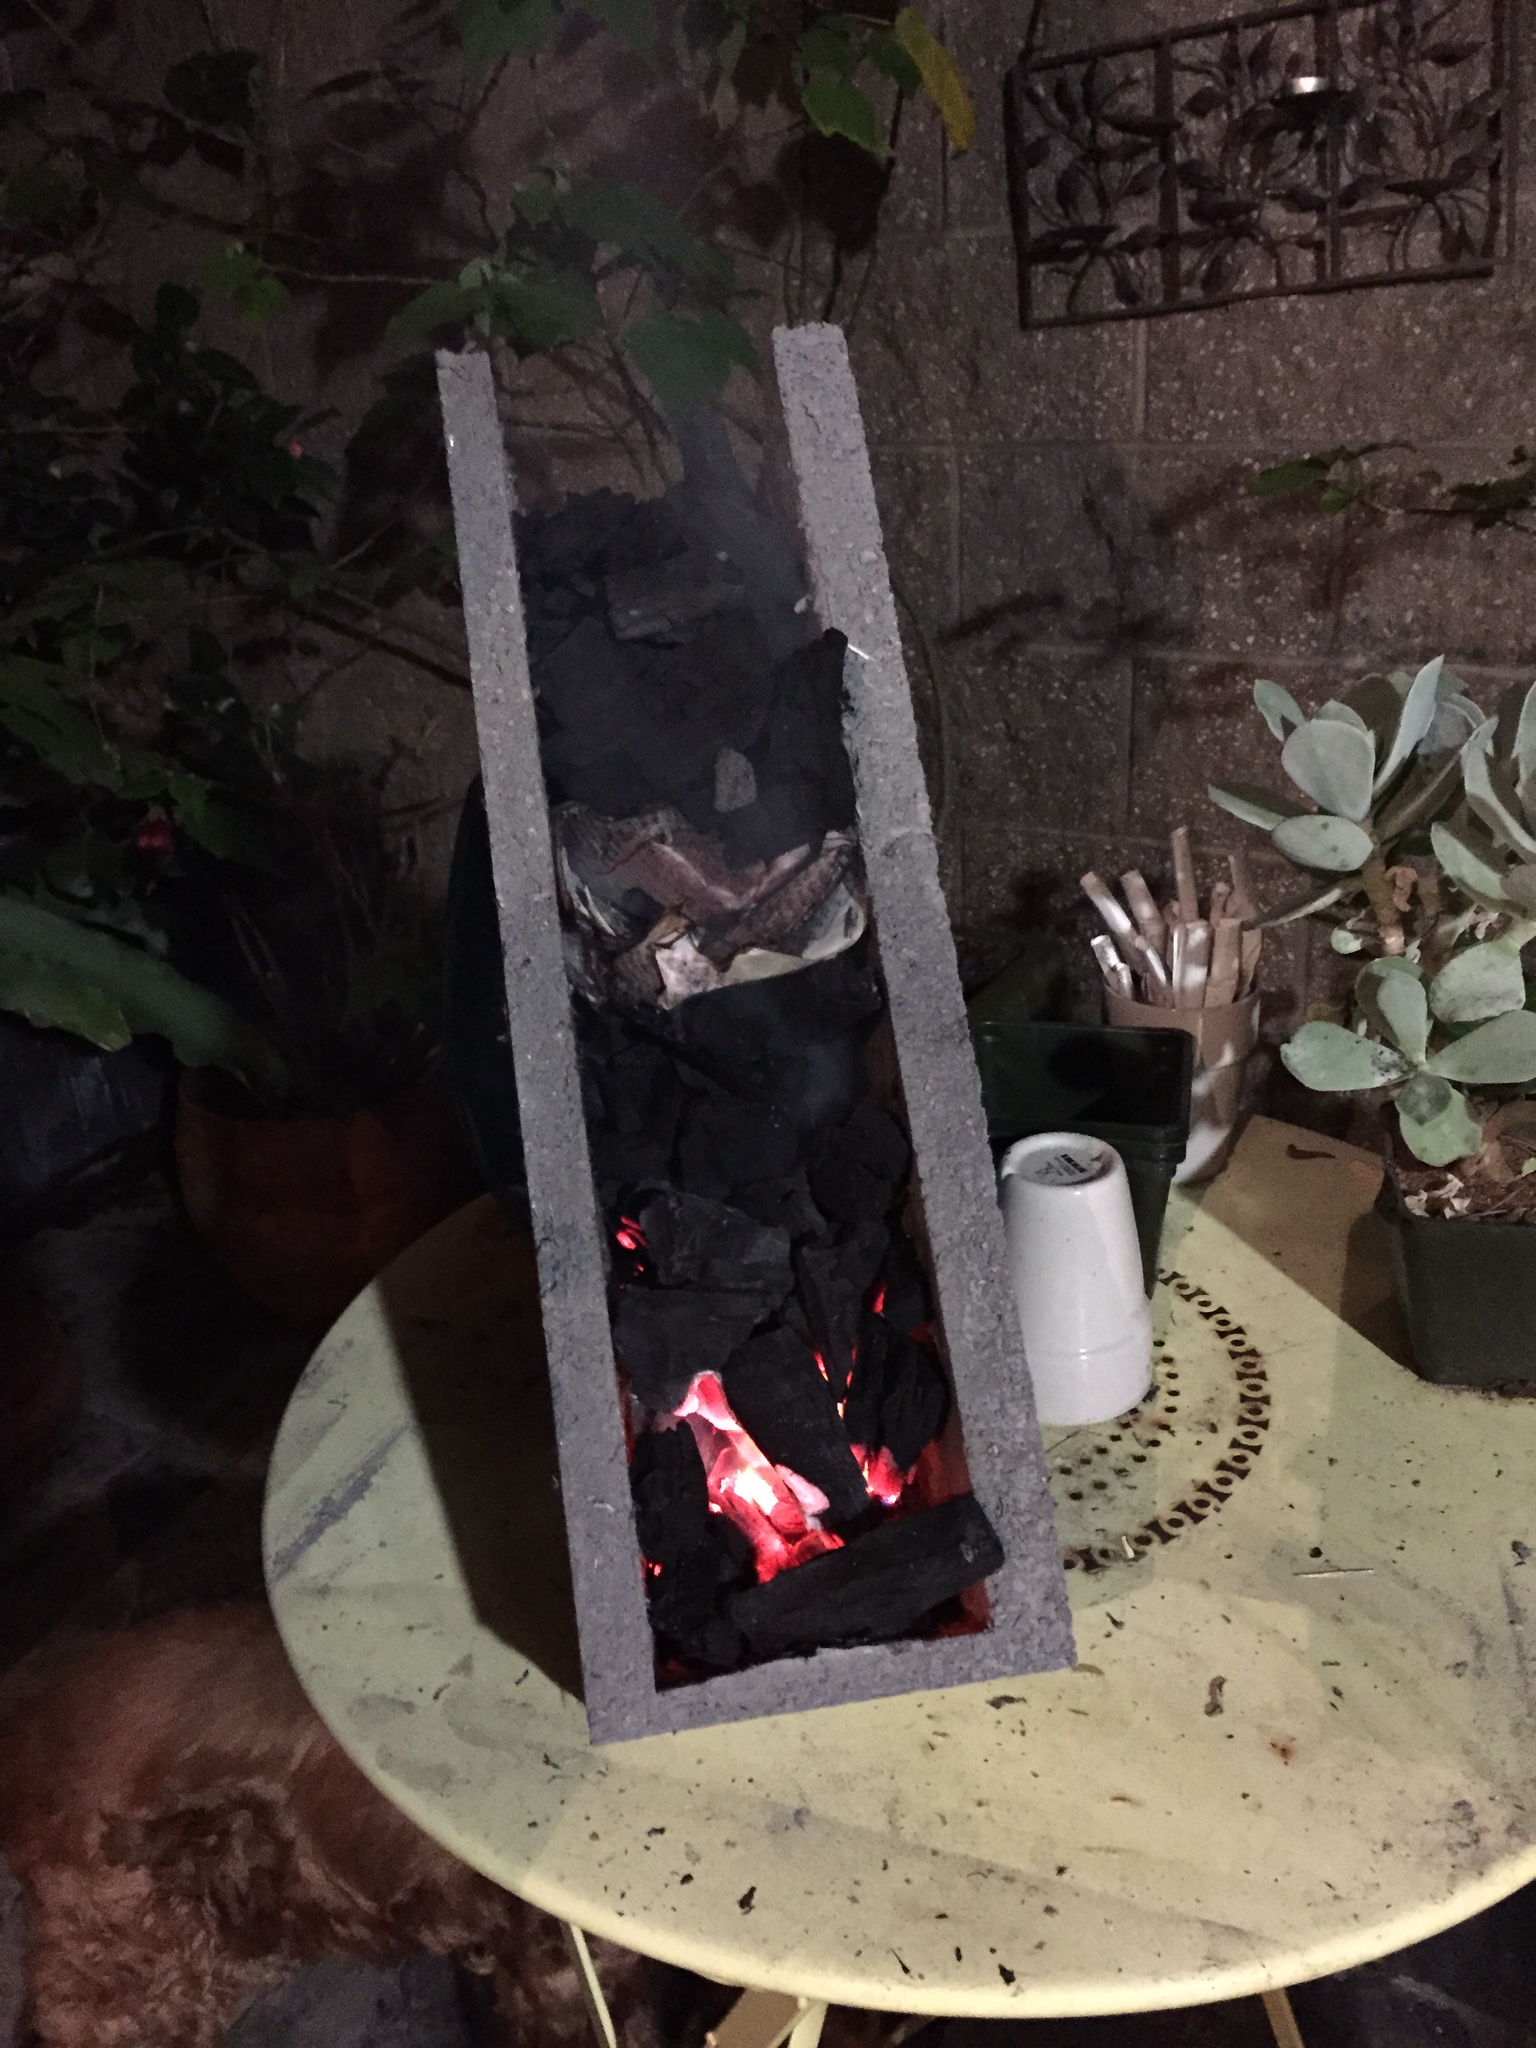
Pro tip: spray a little olive oil on your paper for a longer burn.
With the coals hot, it was time to cook:


Initial Thoughts
mmm, damn this is good! We even turned out a really nice tare sauce.

Ok, this was great. Like super great, but there is room for more. Yakitori-0.2 is already in progress!
